

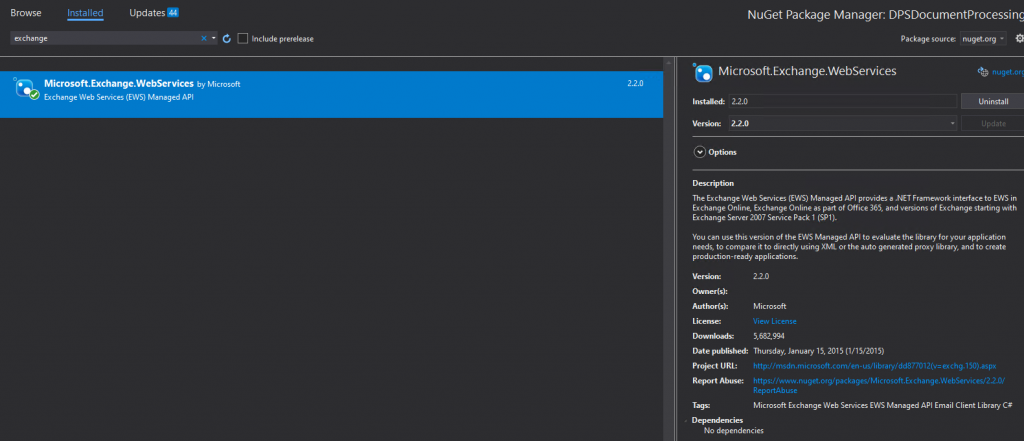
Welcome to the second part of this three part blog that takes you through connecting to an exchange based mailbox, consuming the contents, and securitising the application; Part One concentrated on setting up the App registration, this second part will deal with the coding side of things. When it comes to the coding for connecting to an EWS mailbox, there is not really that much to do in terms of configuration. I will not be showing you how to code a fully fleshed out class that has all of the bells and whistles of a Mail interaction class, instead I will show you the nuts and bolts that you can build on top of. First of all you must ensure that you add a reference to the EWS library (Micorsoft.Exchange.Webservices) using NuGet as shown below.
In addition you will also need a NuGet reference to the Microsoft Identity Client as shown below. This required for obtaining a log in token to the EWS Web Service.

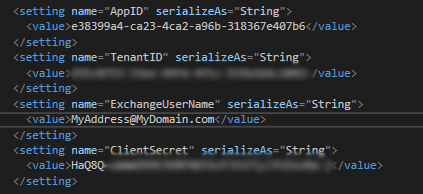
We also need a configurable section where we can specify the Exchange settings that we have so far managed to gather. We start with the App ID and the Tenant ID both of which we obtained when we created the App Registration. Next, the Exchange User Name is the email address of the actual mailbox that we wish to interact with. Finally, there was that all important Client Secret which is only ever shown once within the Azure Portal. These settings are added to the main App.config file
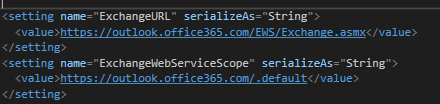
Also there are a couple of other settings which needn’t be configurable, which we will come across later. I like to make them configurable as they are string literals. These are as follows:-
My main class is defined thus, with a reference to the ExchangeService held at module level and also a boolean value so that I may know if the calls to initialise the service were run, or were successful. In my case I have defined the class as abstract because I have many base methods which I share across projects. This is not required.

The main invocation methods for calls to the Exchange Connector look a little bit like the below:- We firstly initialise the main Exchange objects in an Asynchronous manner. Once the code is ready to execute and if the initialisation was successful we can process the emails. Obviously the complexity here lies a little deeper within the method calls themselves.

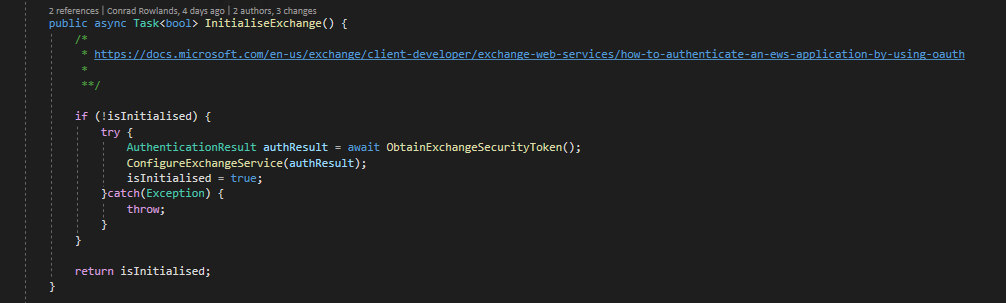
Taking a look first at the InitialiseExchange function, you can see that if the ExchangeService object has not already been initialised we will first obtain a security token. This is required to make a web call to the cloud service and is a fundamental of all cloud service API’s. Once we have obtained the token this is passed through to the Configure Exchange method where the log onto the API actually occurs. If all goes well we then mark the class as initialised
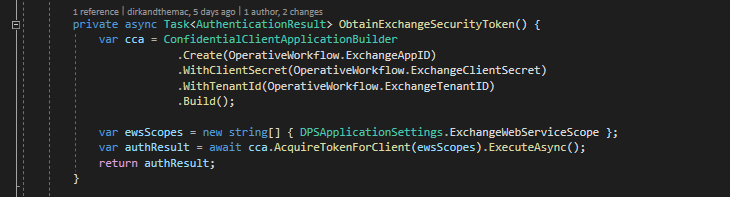
Lets take a deeper look at that ObtainExchangeSecurityToken method. We first create a ConfidentialClientApplicationBuilder object using:-
- The App ID
- The Client Secret
- And finally the TenantID
Using this object and the ExchangeWebServiceScope that we specified in the configuration file we then make a call to request a security token which we return in an asynchronous manner
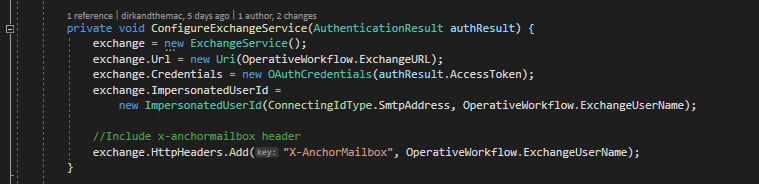
Now that we have a security token we can take a look at the ConfigureExchange function. As you can see we first create a new instance of the EWS ExchangeService object. We then:-
- Set the Exchange URL to the ExchangeURL we defined in our configuration file
- Set the Access Token we received earlier into an OAuthCredentials object before assigning this as our exchange credentials
- We then specify, using impersonation, that we are to connect as the User that we specified within the configuration file in the ExchangeUserName property
- Finally we need to add an x-anchormailbox header to the request using that same user name.
That really is all there is to it. You are now able to log onto the EWS webservice in an unattended manner, regardless or not of whether 2 Factor Authentication is enabled for the account. Please don’t miss the final part of this series where we securitise the application.
2 comments