

Welcome to the final part of this 3 part series; Previous articles dealt with firstly Creating the Azure Infrastructure, and then creating the .NET Service code necessary to connect to a Microsoft 365 mail box that has been secured using 2 factor Authentication. Finally, but very definitely most importantly… We must secure the App Registration we created earlier. Now at the moment this particular set of credentials can be used to plough through absolutely anybody’s email account which is a massive security risk. The best thing that we can do to reduce the surface attack area is to limit these credentials so that they can only be used against certain mail accounts.
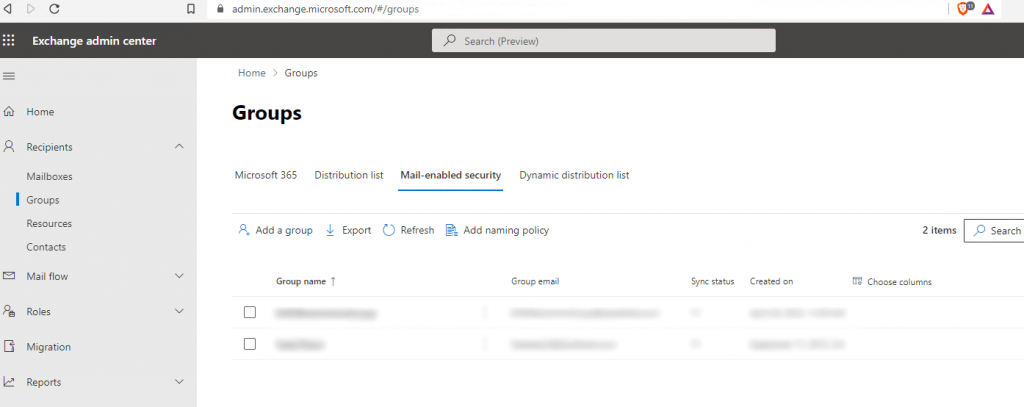
The first thing that we need to do is to create a Mail Enabled Security, this can be done via the Exchange Admin Center. Once you have logged in to this portal you should then navigate the Recipients\Groups Section and open the ‘Mail Enabled Security’ tab.
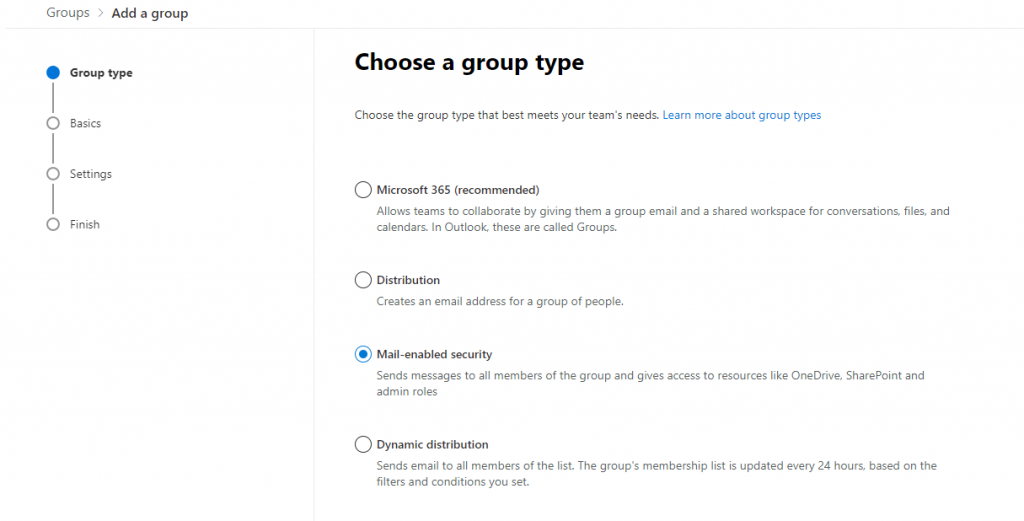
In my instance I didn’t have a ready made group containing the mail addresses I wanted and so I had to create one by ‘Adding a Group’. I was then given the following choice to which I chose ‘Mail Enabled Security’:-
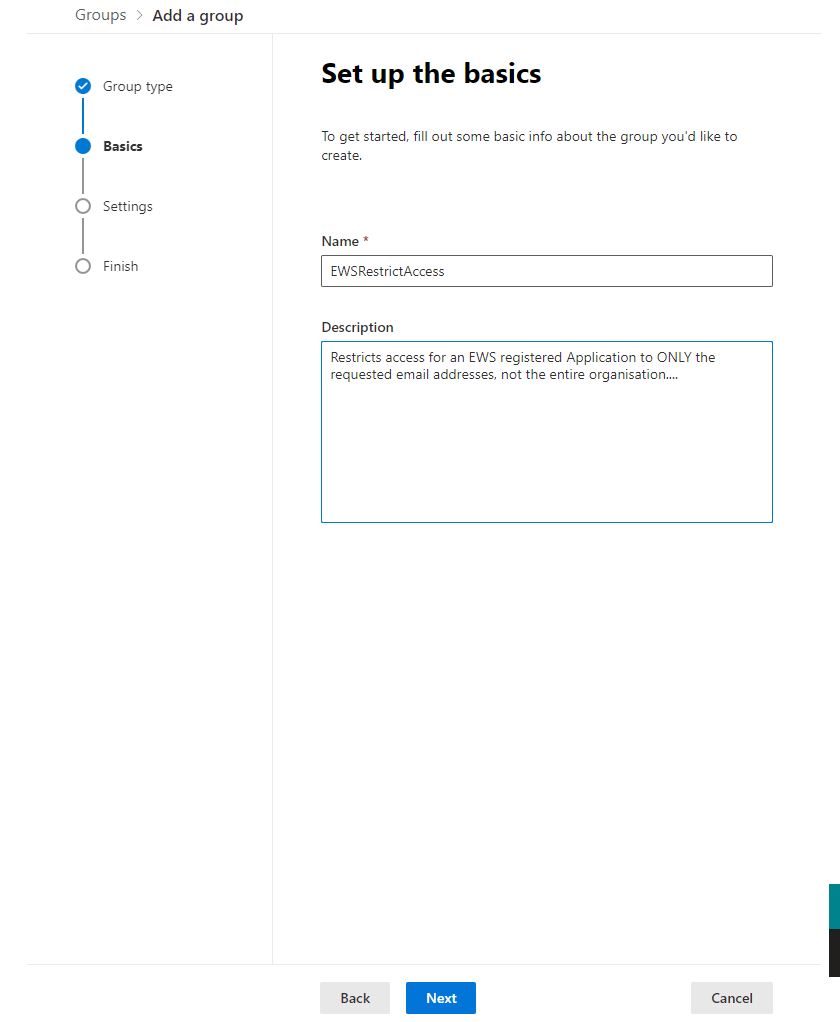
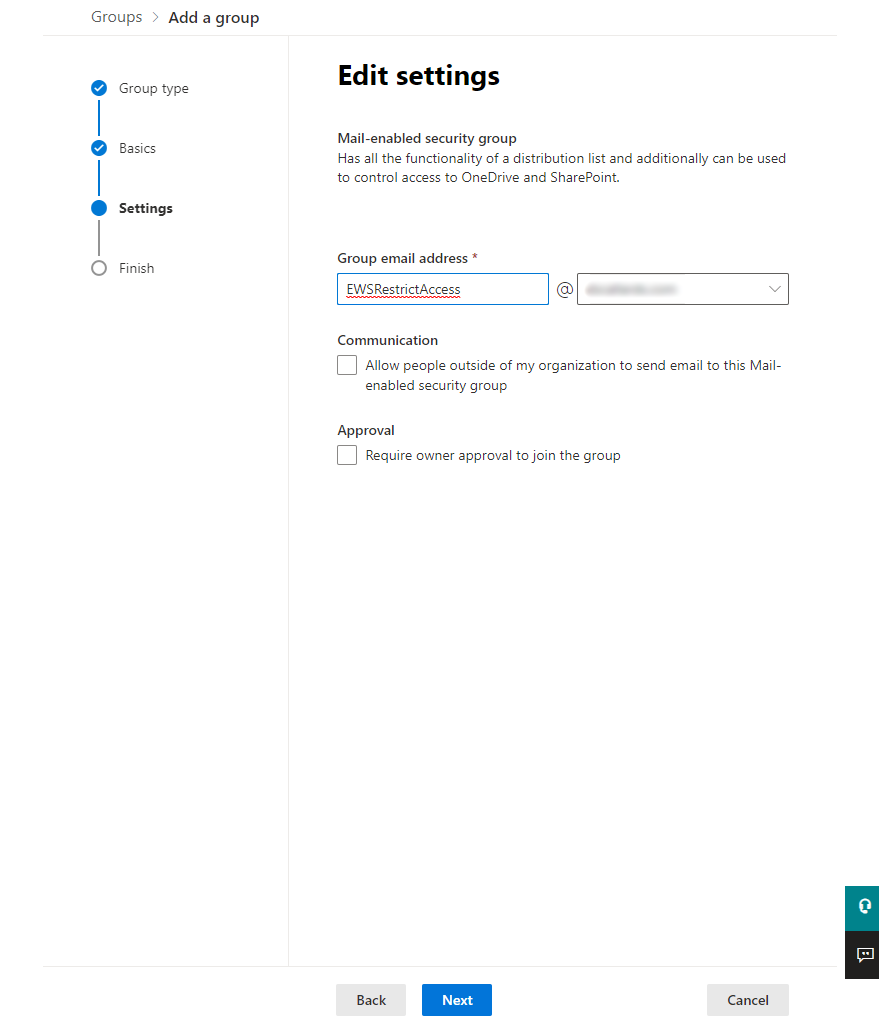
I was then walked through a wizard where I could set up the group. Here are the settings that I used
The email address you entered here you should make a note of as this will be used during the securitisation process
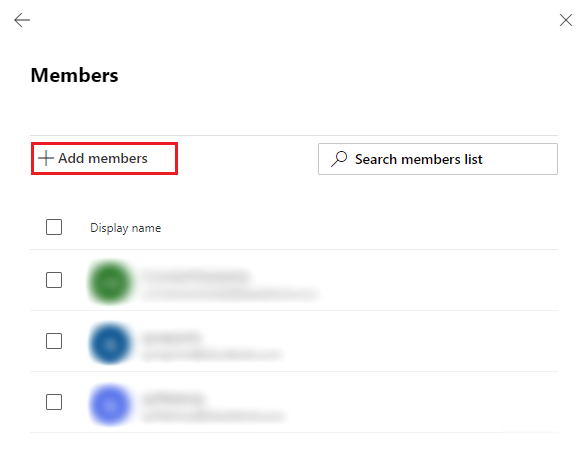
Finally once I had finished creating the group I needed to add some members; these being the actual email addresses that my App Registration is allowed to view once this security group is assigned. I thus selected the newly created group and pressed the ‘View all and manage members’ link.

Here I added the email addresses I wished to add and that was it for the security group itself.
Now we move onto the securitisation itself. For this part of the process we need to break out PowerShell. For a start Powershell will need to be configured to run scripts, You should run the following command to allow the signed scripts to be used.
Set-ExecutionPolicy RemoteSignedNext we make the call to install the ExchangeOnlineManagement Cmdlet. This is required to set the security permissions.
Install-Module -Name ExchangeOnlineManagementYou will likely be asked to also download and install the NuGet provider as this is required to interact with Nuget based repositories, in which Exchange Online Management is stored in. Select all option to install this and to subsequently install the ExchangeOnlineManagement cmdlet. Once you are all installed you may then move on to logging onto the Exchange System. You will do this under your own account as shown below.
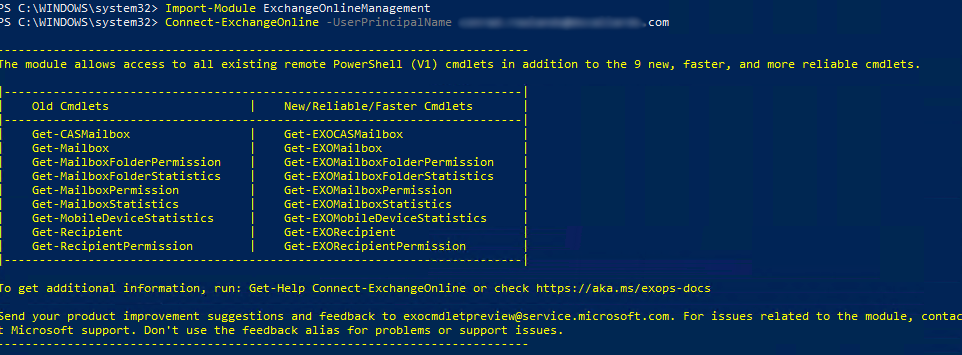
Connect-ExchangeOnline -UserPrincipalName MyEmailAddres@MyDomain.comIf not already logged in you will be prompted to do so using the browser. Once you have completed login the following screen will be observed in PowerShell
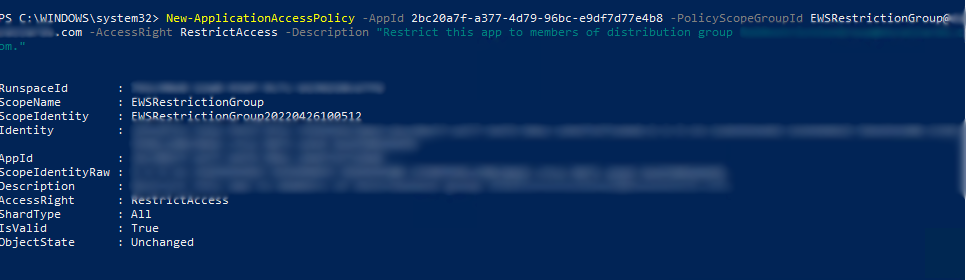
We are now ready to finally securities the App Registration object. This is done so by using the following syntax within PowerShell replacing the AppID, PolicyScope and Description with your own settings
New-ApplicationAccessPolicy -AppId e7e4dbfc-046f-4074-9b3b-2ae8f144f59b -PolicyScopeGroupId EWSRestrictionGroup@MyDomain.com -AccessRight RestrictAccess -Description "Restrict this app to members of distribution group EWSRestrictionGroup"This should yield something akin to this
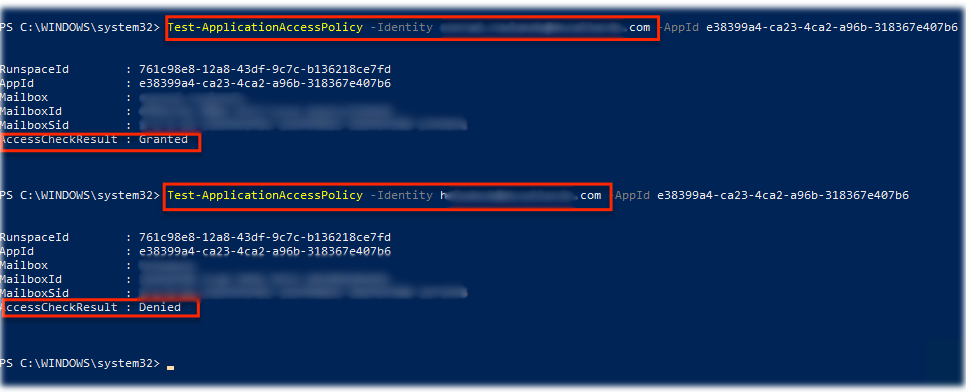
You may also test the effectiveness of these changes using the following PowerShell syntax:-
Test-ApplicationAccessPolicy -Identity MyUserName@MyDomain.com -AppId e7e4dbfc-046-4074-9b3b-2ae8f144f59bRunning this with both a valid and invalid set of email addresses should yield the following results in the PowerShell app:-
That all looks great, but a word of caution. Whilst Azure seems to know about these settings it will take likely up to an hour before these security settings start to be applied. In the meantime your previous security settings persist.
One comment